
Introduction to Watercolor Painting
Watercolor painting is an artistic medium characterized by its use of water-soluble pigments. This technique relies on the application of transparent or semi-transparent watercolors to a variety of surfaces, primarily paper. Unlike oil or acrylic paints, the transparency of watercolors allows for a lighter touch, creating the potential for ethereal effects in artwork.
The versatility of watercolor painting is one of its most defining features. Artists can explore a multitude of techniques, including wet-on-wet, wet-on-dry, layering, and glazing, each offering unique outcomes. These methods enable artists to create diverse styles, from soft washes depicting landscapes to vivid, detailed illustrations. The interplay between water and pigment is a fundamental aspect of this art form, contributing to its reputation for unpredictability, which can be both challenging and rewarding.
As an ancient technique, watercolor painting has garnered significant popularity over the years, attracting artists ranging from beginners to seasoned professionals. Its accessibility plays a vital role in its appeal; watercolor sets are often affordable and portable, making them convenient for artists who want to create on the go. Furthermore, the relatively quick drying time permits artists to build layers swiftly and make adjustments as needed.
In contemporary art, watercolor is not merely relegated to traditional themes. Artists use this versatile medium to explore modern concepts, experiment with abstract forms, and push the boundaries of what can be achieved within the watercolor genre. This ongoing evolution has solidified watercolor painting’s place within the broader art world, reflecting both its enduring qualities and its adaptability to current artistic expressions.
Essential Supplies for Watercolor Painting
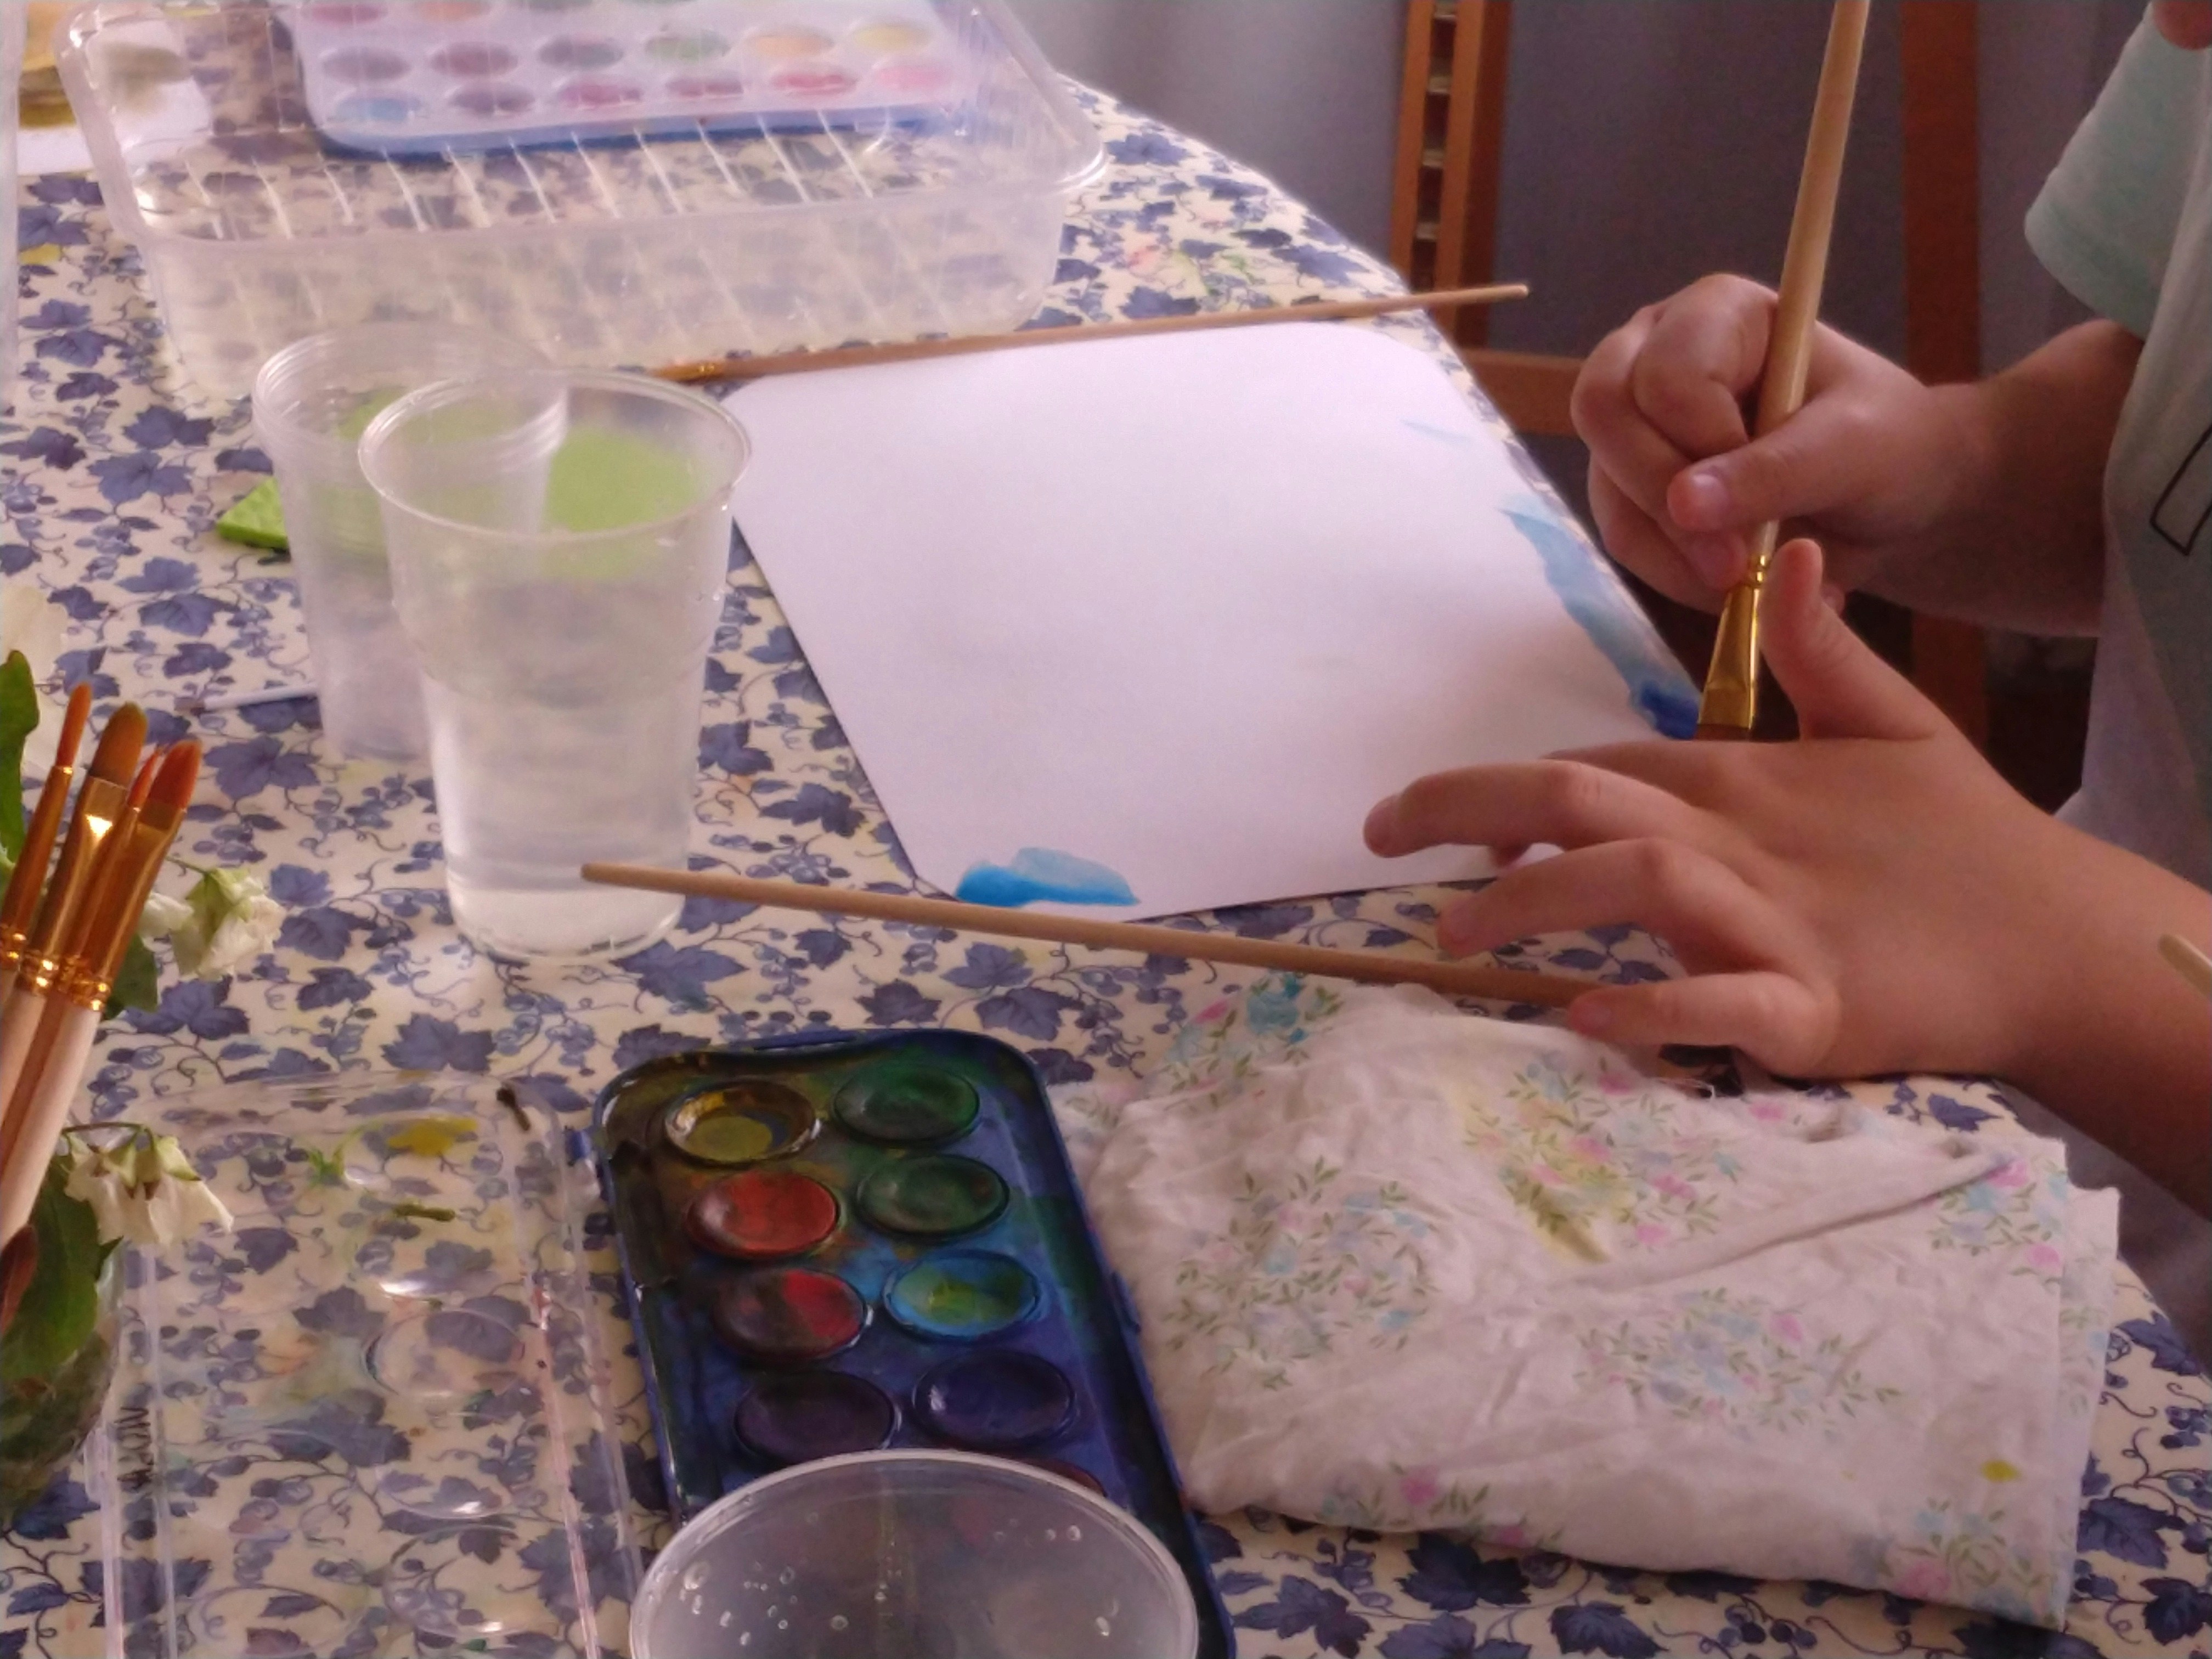
When embarking on the journey of watercolor painting, selecting the right supplies is crucial to achieving stunning results. The foundation of your artwork begins with the watercolor paints themselves. There are two main types of watercolors: tubes and pans. Tubes are typically more vibrant and are ideal for larger compositions, whereas pans are convenient for portability and spontaneous creativity. Artists often prefer artist-grade paints for their superior pigmentation and lightfastness, which ensures that your artwork remains vibrant over time.
Next, the choice of brushes significantly impacts the application and overall quality of the painting. Watercolor brushes are often made from either natural hair, such as sable or synthetic materials. Natural hair brushes can hold more water and provide a smoother application, while synthetic brushes offer durability and are often more affordable. It is advisable to have a variety of brush sizes and shapes, including round, flat, and angular brushes, to facilitate different techniques and styles.
The paper you select for your watercolor paintings is equally important. Watercolor paper is specifically designed to withstand the heavy application of water. It is typically categorized into three types: hot-pressed (smooth), cold-pressed (noted for its texture), and rough. The choice of paper will depend on your desired painting style, with cold-pressed being a popular choice among many watercolorists due to its versatility. Ensuring that the paper is 100% cotton can enhance your outcomes, as it provides better durability and absorbency.
Additionally, don’t overlook other essential accessories such as a palette for mixing colors, masking tape to secure your paper, and water containers for rinsing brushes. A good quality pencil and eraser can also assist in sketching your initial designs. Choosing quality supplies is paramount, as they contribute significantly to your artistic experience and the final appearance of your watercolor paintings.
Understanding the Four Main Watercolor Techniques
Watercolor painting offers a diverse range of techniques that can be employed to produce visually striking artwork. Among these, four primary methods stand out: wet-on-wet, wet-on-dry, dry brush, and glazing. Each technique presents unique characteristics that contribute to the overall effects achieved in a watercolor piece.
The first method, wet-on-wet, involves applying wet paint onto a wet surface. This technique allows colors to blend seamlessly, creating soft edges and beautiful gradients. Artists frequently use wet-on-wet to achieve fluid and atmospheric effects, making it suitable for landscapes or abstract creations. However, it may require careful planning to avoid muddied colors, as the paint can quickly spread.
In contrast, the wet-on-dry technique entails applying wet paint onto a dry surface. This method yields sharper edges and more defined shapes, making it ideal for detail-oriented work or illustrations. By controlling the amount of water on the brush, artists can manipulate the intensity of the colors, allowing for a variety of creative outcomes.
Next, the dry brush technique involves using a brush with minimal water and paint to create texture. This method is perfect for capturing fine details, such as hair or foliage, and is particularly effective in adding depth and dimension to a painting. When done skillfully, dry brushing can evoke a sense of realism that captures the viewer’s attention.
Lastly, glazing is a technique that involves layering translucent washes of color over dried paint. This process builds depth and richness by allowing underlying layers to show through the top layer. Glazing enriches the overall vibrancy of the artwork and can dramatically alter the mood or tone of a piece.
Technique #1: Wet-On-Wet
The wet-on-wet technique is a fundamental method in watercolor painting that produces soft edges and beautiful blends. This technique involves applying wet paint onto a wet surface, allowing pigments to flow and merge in unpredictable and visually appealing ways. To execute the wet-on-wet technique effectively, begin by dampening your paper with clean water using a brush or a sponge. This pre-wetting stage is crucial as it prepares the surface for the paint to spread and encourages the colors to blend seamlessly.
Once your surface is adequately moist, you can begin applying your watercolor paints. It is important to be aware that the paint will diffuse and spread, creating softer edges as it interacts with the water already present on the paper. Using a range of brush sizes can aid in achieving varied textures and depths in your artwork. For instance, a larger brush can cover more area while a smaller brush allows for more detail. To enhance the effects of the wet-on-wet technique, consider using a limited palette of colors that complement each other, facilitating the desired blending.
This technique is particularly effective for painting landscapes, skies, andabstract techniques, as it captures the essence of atmospheric movement and fluidity. One effective approach is to drop a contrasting color into the wet wash, which can create stunning bursts of color and texture. When using this technique, it is advisable to work quickly, as the paint can dry before achieving the desired effect. Additionally, being conscious of the amount of water you use can help control the vividness of your colors. With practice, the wet-on-wet technique can lead to extraordinary artistic results, making it a highly valued method among watercolor artists.
Technique #2: Wet-On-Dry
The wet-on-dry technique in watercolor painting involves applying wet paint onto a dry paper surface. This approach allows for greater control over the medium, enabling artists to create crisp edges and distinct shapes. By contrast, the wet-on-wet method, where wet paint is applied to a wet surface, results in softer edges and more blended color transitions. Understanding the wet-on-dry technique is essential for any artist looking to master watercolor painting.
To practice the wet-on-dry technique, start by selecting your desired watercolor paper and ensuring it is completely dry. Begin by lightly sketching your composition with a pencil, which will help you place the colors accurately. Next, choose your first color and load your brush with a generous amount of water, allowing the paint to become fluid.
Apply the wet paint directly onto the dry paper, keeping in mind the amount of pressure you use, as it affects the paint’s spread. For cleaner lines, consider using a smaller brush, while a larger brush can cover broader areas. As you layer the colors, you can achieve a variety of effects, such as creating shadowed areas or textures by adjusting the paint’s opacity. When layering, ensure that each layer dries sufficiently before applying the next; this will preserve the integrity of your previous colors.
One significant advantage of the wet-on-dry method is the ability to achieve precise details, making it ideal for adding highlights or fine lines to your artwork. The results can be striking when this technique is used to create elements such as defined architectural features or intricate botanical illustrations. Mastering this technique not only enhances the overall quality of your art but also expands your creative possibilities when using watercolors.
Technique #3: Dry Brush
The dry brush technique is an exciting way to add texture and detail to your watercolor paintings. Unlike traditional watercolor techniques that employ wet brushes and ample water, dry brushing relies on a relatively dry brush to create distinct effects. To achieve this, it is essential to use a brush with stiff bristles, such as a hog bristle, which can hold paint without excessive moisture. The goal is to apply paint only with minimal water, permitting the paper’s texture to show through, resulting in an intriguing and dynamic surface quality.
To master the dry brush technique, begin by selecting your watercolor paint and ensuring that it is somewhat thick on the palette. Avoid adding extra water; this will maintain the paint’s viscosity, allowing for more pronounced strokes on the paper. Pick up a small amount of paint with your dry brush and lightly drag it across the textured surface of your watercolor paper. This will enhance the visibility of the brush strokes, producing a gritty, textured effect that is ideal for rendering elements such as grass, fur, or bark.
Brush control is paramount in this technique. Use quick, light strokes to build layers gradually. If you press too hard or use too much paint, the marks can become overwhelming or muddy. Experimenting with different brushes and knowing how they interact with paint will significantly improve your results. Additionally, incorporating varying angles while applying the brush can lead to unique patterns and textures, enriching your painting’s overall depth and complexity.
It’s also beneficial to practice on scrap paper to gain confidence in your control and technique before applying your skills to your main artwork. The dry brush technique can be an impactful addition to your watercolor toolbox, allowing for expressive details that elevate your pieces.
Technique #4: Glazing
Glazing is a sophisticated technique in watercolor painting that allows artists to build depth, enhance luminosity, and achieve color richness. This technique involves applying transparent layers of color over previously dried paint layers. When executed properly, glazing can create an impressive visual effect that enhances the overall composition and brings vibrancy to the artwork.
To begin with glazing, it is crucial to select the appropriate colors. Opt for transparent or semi-transparent watercolor paints as these are specifically designed for glazing. A good practice is to test your colors on a separate piece of paper, ensuring that the resulting hue is as intended. For luminous effects, consider using complementary colors or analogous colors that can enrich the layering process.
The glazing process starts with the application of a base layer, which should be allowed to dry completely before adding any subsequent layers. This initial layer typically serves as the foundation or the predominant color in your painting. Once dry, you can mix a small amount of your chosen glazing color with water to achieve the desired transparency. It is essential to use a clean brush and only a minimal amount of pigment to maintain the translucency of the glaze.
To apply the glaze, use a gentle, sweeping motion, allowing the previous layer to show through. Build up the color gradually; multiple thin layers will produce more luminous effects than a single thick application. Depending on the pigments used and the colors layered, you can achieve a wide range of tones and effects, from subtle glows to vibrant, dynamic shifts in color.
In this way, glazing not only enhances the dimension of your artwork but also allows for creative exploration through color combinations and layering techniques. With practice and experimentation, artists can create stunning watercolor paintings with incredible depth and richness, showcasing their individual styles.
Step-by-Step Painting Project
To create a stunning piece of watercolor art, we will combine four essential techniques: wet-on-wet, wet-on-dry, glazing, and lifting which is another technique whereby you use either a dry brush to pull off pigment or dab with a paper towel. This project will guide you through each step while encouraging your personal creativity. Begin by gathering your supplies, including watercolor paints, brushes, watercolor paper, a palette, and water. Ensure your work area is well-organized to facilitate a smooth painting experience.
Start your project by selecting a simple subject, such as a landscape or floral composition. Lightly sketch the outline on your watercolor paper using a pencil. This sketch will serve as your guide but should not dominate the final artwork. Now, prepare your colors on the palette, choosing a harmonious color scheme that includes both vibrant and muted tones.
Begin with the wet-on-wet technique by wetting the area of the paper where you will apply your background color. Drop in your chosen hues, allowing them to blend naturally as the water facilitates diffusion. This creates a beautiful, ethereal effect ideal for capturing skies or distant backgrounds. Once this layer dries, move on to wet-on-dry painting for the foreground elements. Here, a sharper application of paint will bring details to life, enhancing the overall composition.
To add depth, implement the glazing technique by layering transparent washes over your dried areas. Choose lighter colors to overlay darker shades, building complexity without overwhelming the viewer. Finally, utilize the lifting technique if you wish to highlight specific details or correct areas where the paint may have applied too heavily.
This project demonstrates how to utilize various watercolor techniques cohesively. By following these steps, you can create a well-rounded piece that showcases your understanding of watercolor principles, allowing your skills to flourish as you paint.
Conclusion and Final Tips for Watercolor Artists
In conclusion, mastering watercolor painting involves a blend of practice, patience, and experimentation. This medium offers a unique range of techniques that can enhance any artist’s skill set, from wet-on-wet to dry brush. Aspiring watercolor artists should focus on building a solid foundation of skills through consistent practice. Experimenting with different brushes, papers, and palettes can yield both successful and unexpected results, which ultimately contribute to artistic growth. It is also beneficial to study the works of established artists and explore various styles to inspire and inform one’s own artistic journey.
Additionally, maintaining an open mindset is vital when creating watercolor art. Embracing mistakes allows artists to learn and adapt, turning mishaps into unique features of their work. Regularly setting aside time for practice not only improves technique but also fosters creativity and confidence in one’s abilities. To encourage progression, consider keeping a journal of your painting experiences, documenting advances and challenges faced along the way.
Remember, the beauty of watercolor lies in its fluidity and unpredictability. Allowing the paint to flow and interact naturally can lead to beautiful surprises. As you navigate through your watercolor journey, remind yourself that the process of creation is just as important as the final piece. Ultimately, enjoy the experience and never hesitate to explore your creative impulses. The world of watercolor awaits your unique interpretation.